

How to Make Your Own Bacon!

mmmmmm…. bacon…..
Most bacon you buy in the store is literally pumped full of a brine that contains nitrates. Nitrates are a health hazard as well as the brine being mostly water. You buy bacon by weight, so therefore you are paying for the water they pump into the bacon to cure it! Water also causes the spitting of hot droplets of fat that attack you from the frying pan! OUCH! By using a dry rub method, you can avoid these negative things associated with bacon. You also have the advantage of customizing and playing with flavors, different smoking techniques and you know exactly what is in your bacon.
** I may earn from qualifying purchases when you use the links on this page at no additional cost to you. Thank you for your support. **
Let’s get to it….
You will need:
- Kosher Salt
- Pink Curing Salt (Prague Powder)
- Sugar (can be white, brown or dark brown)
- Fresh Cracked Pepper (optional)
Flavoring of choice
(our top 3 are:
- honey- local/raw
- maple syrup- the real stuff
- apple cider- the frozen concentrate)
First thing to do is make your base curing mixture.
Use the following ratio: 6 parts Kosher salt, 3 parts sugar, 1/2 part Pink Curing Salt. (3 cups Kosher salt, 1 1/2 cups sugar, 1/4 cup pink curing salt). Store mixture in a jar or air tight container as you will want to keep this around!
Next is to decide on your flavoring. Honey is definitely the favorite, with Maple as a close second.
Finally, you will need your pork belly. Costco, Cash and Carry, Restaurant Depot are all good places to look for sales on Pork Belly. Pick the slab that speaks to you…
For every 5lbs of Pork Belly you will need 2 cups of the curing mix and 1/2 cup of flavoring.
DAY 1:
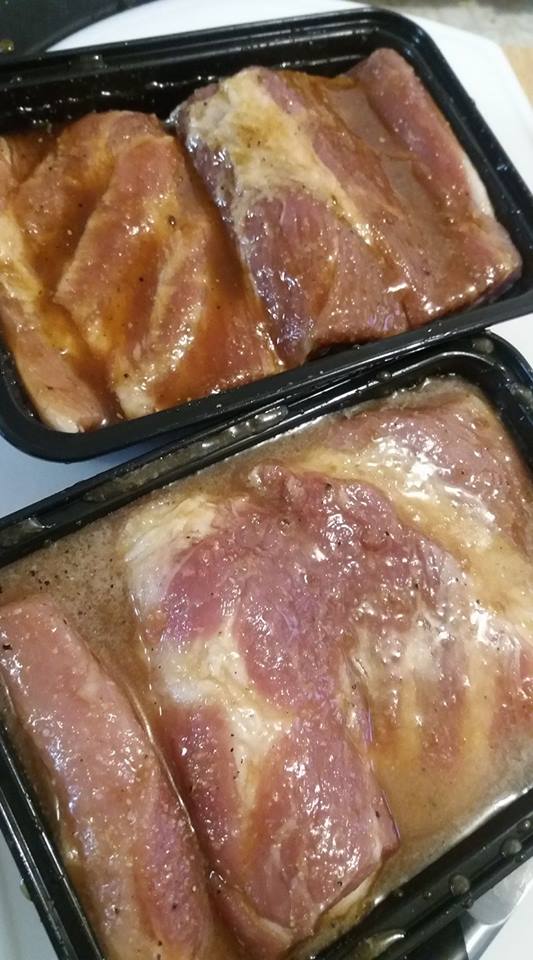
Rub your pork belly with the curing mixture and flavoring. For this example I split my 5lb slab into (2) 2 1/2 lb pieces. One is Honey, the other is Maple. I like to also add some fresh ground pepper to the pork belly, but you may opt to omit the pepper. Place your belly into an airtight container with a lid and place into the refrigerator.

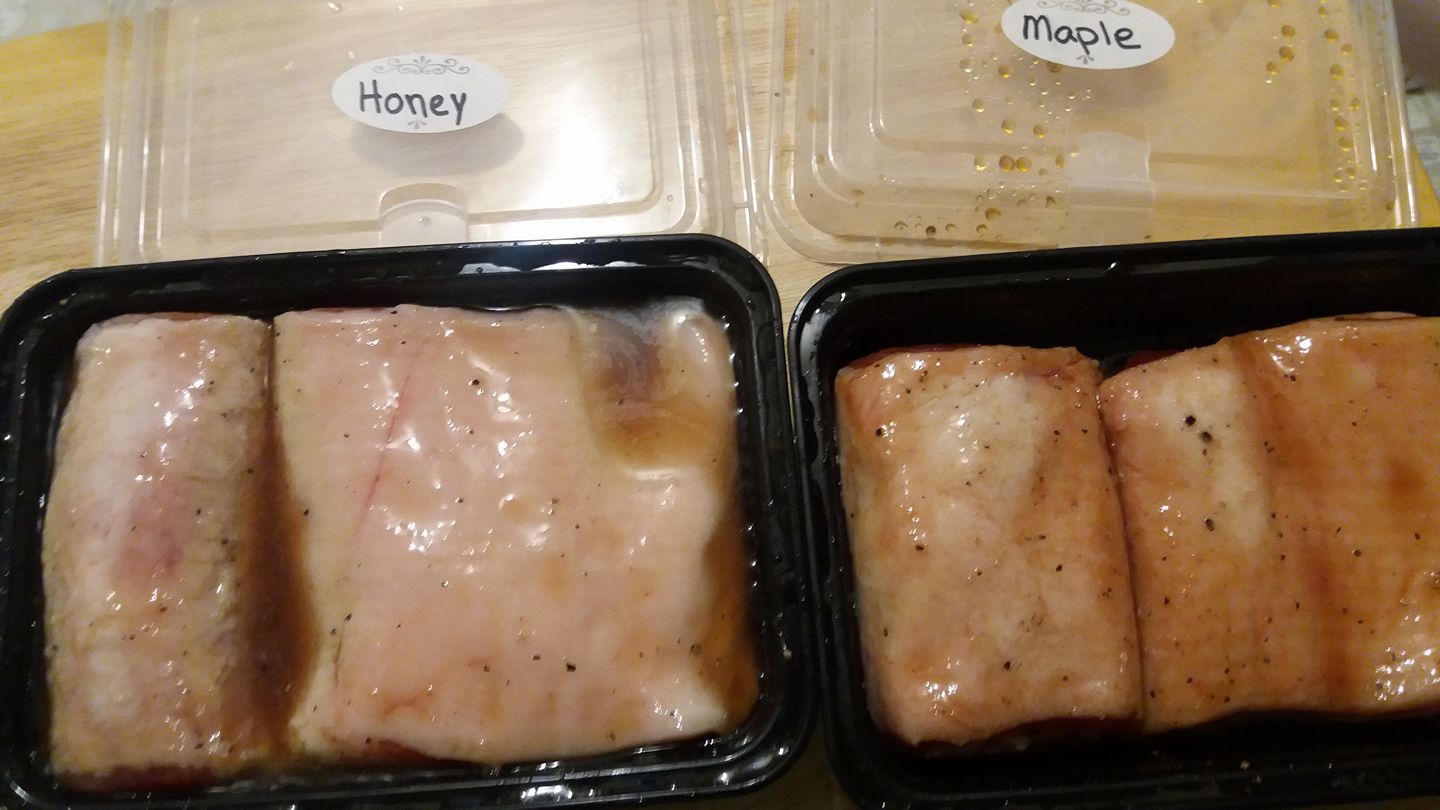
DAY 2:
Flip them over, re-cover and back into the refrigerator.

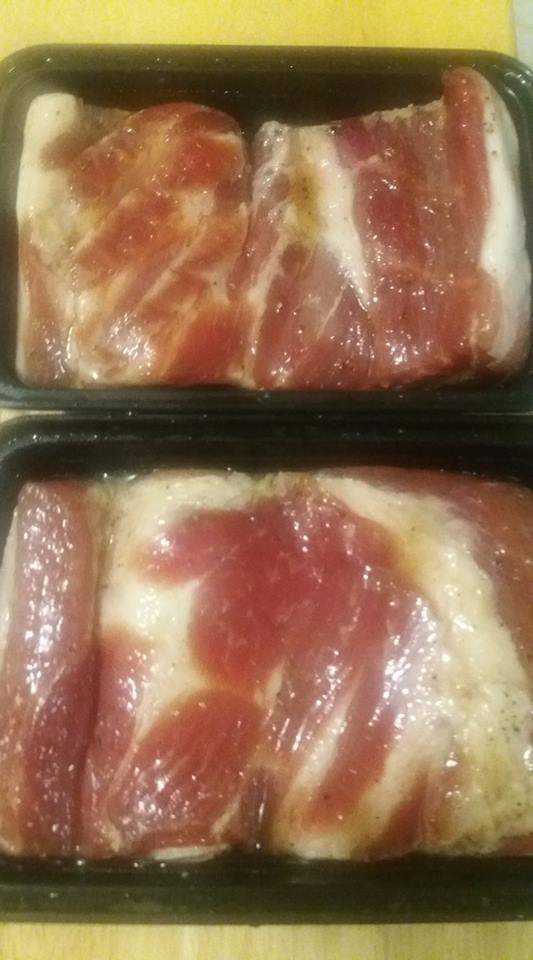
DAY 3:
Turn them over again. You will notice the belly is starting to firm up as the salt is pulling the moisture out of the meat. Back into the refrigerator.

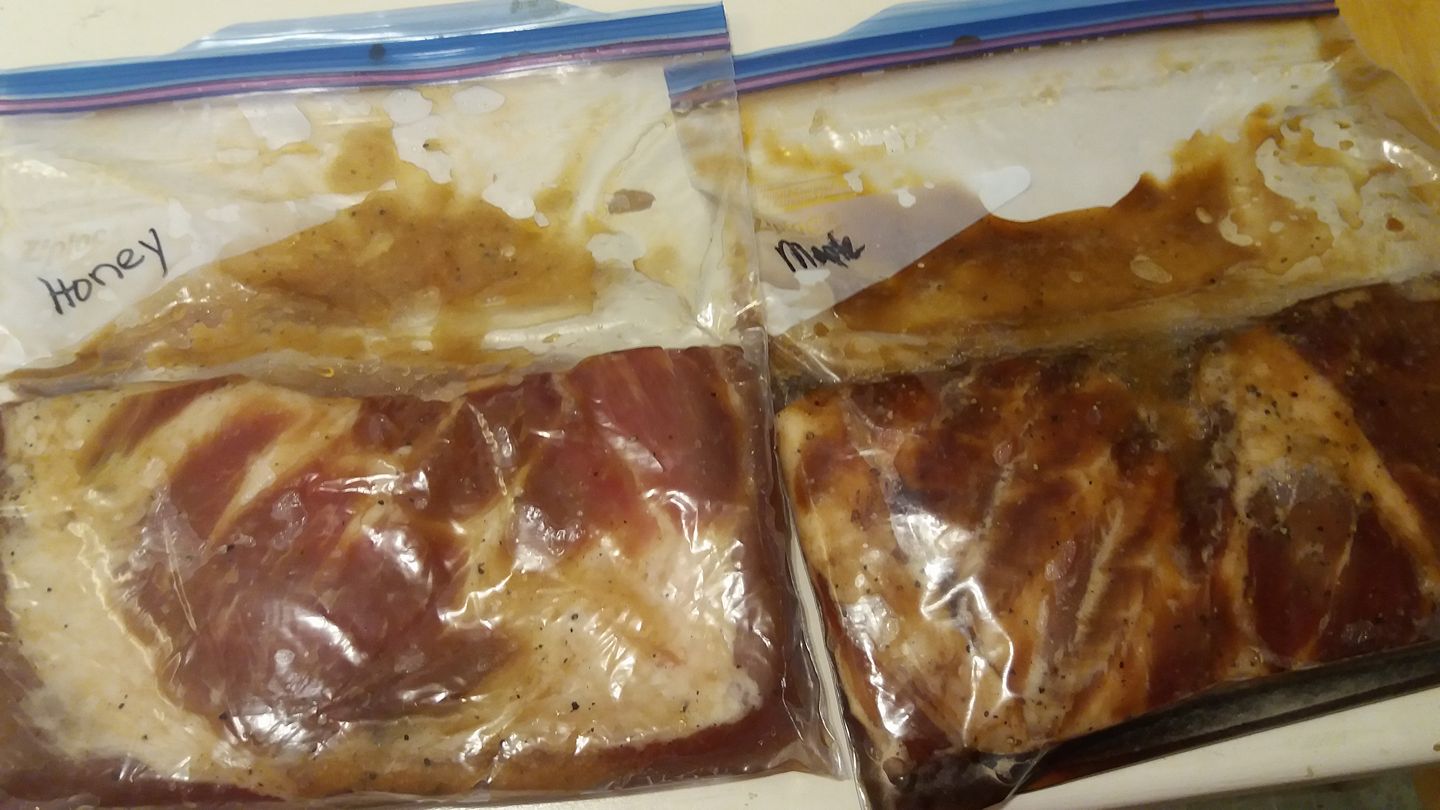
DAY 4:
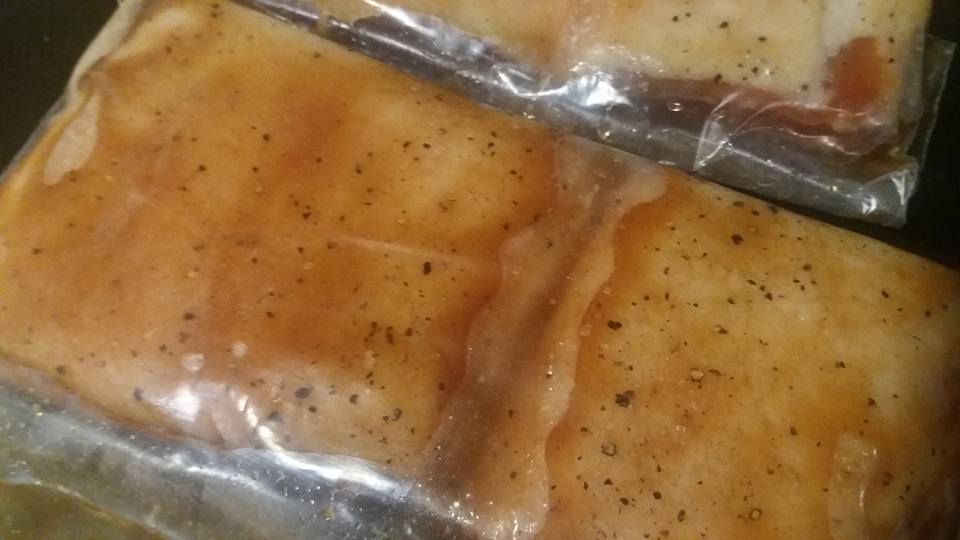
Rinse the pork belly and pat dry. Reapply the curing mixture and flavoring. I moved the bacon-in-progress to Ziploc bags at this point.


DAY 5:
Flip, Massage, back into the refrigerator.

DAY 6:
Massage, Flip, back into the refrigerator.

DAY 7:
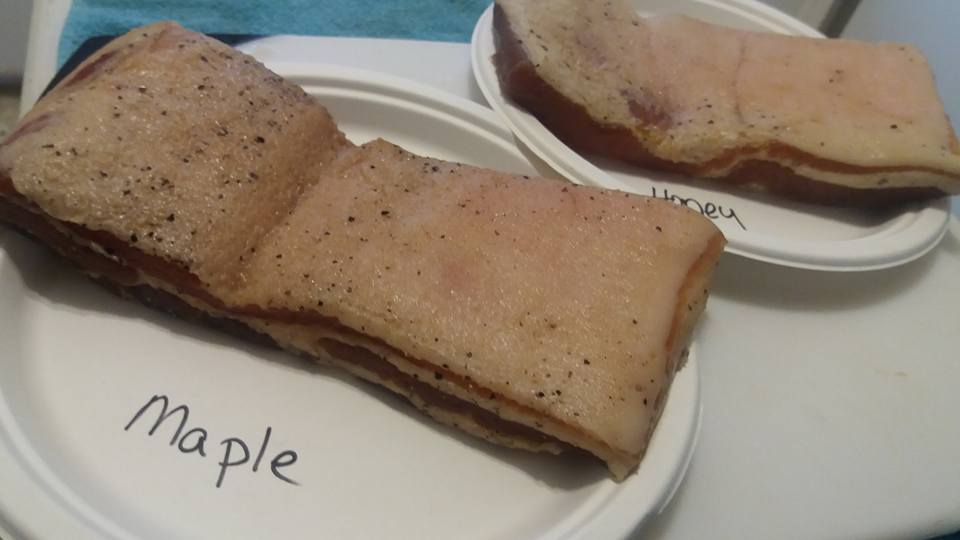
Finally they are looking and smelling like bacon! The Pork Belly should be much firmer at this point!

Today you will prepare the bacon for smoking tomorrow:
Rinse and pat dry:

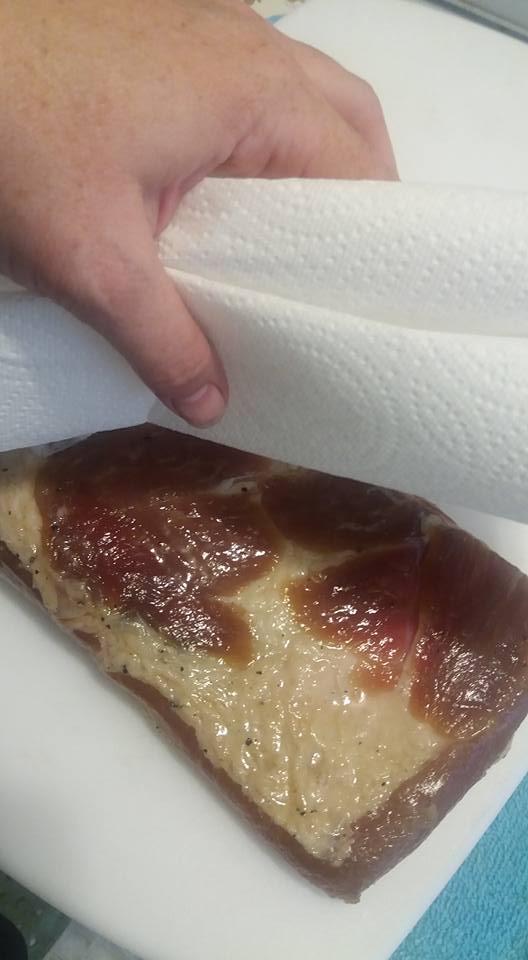
Then place the bacon UNCOVERED (yes you read that right) back into the refrigerator.

DAY 8:
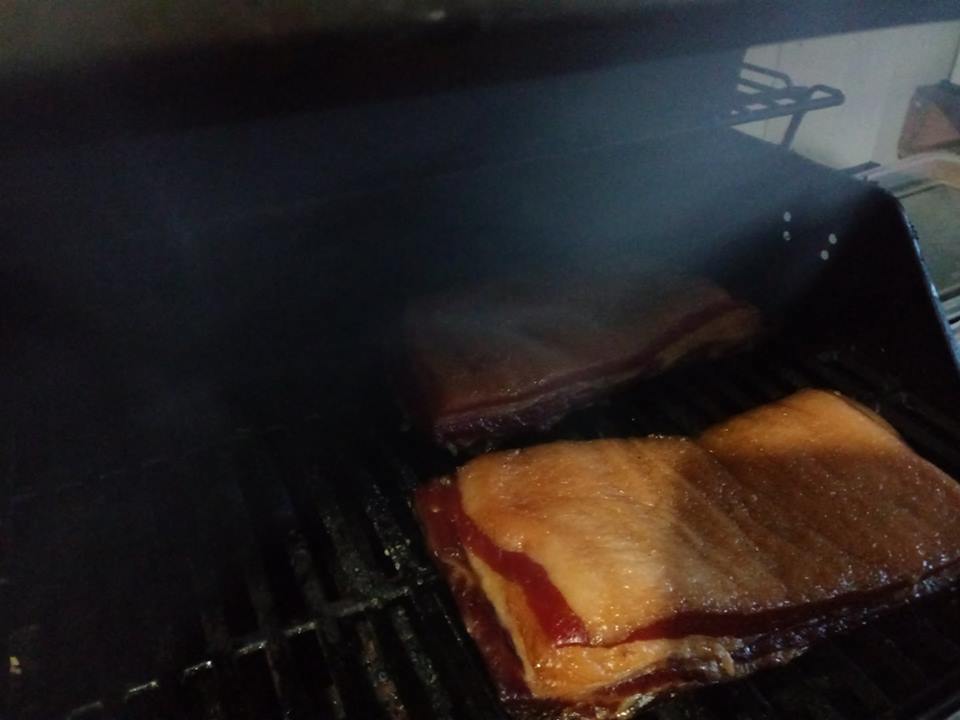
Prepare your smoker. I use my propane grill with a smoke box. I have used wood chips or pellets. I like to use the apple-wood for smoking my bacon, but there are many options out there.

Once your smoker has started smoking and is ready, you will want to place your bacon away from the heat. At no time do you want your bacon to reach over 200 degrees F.

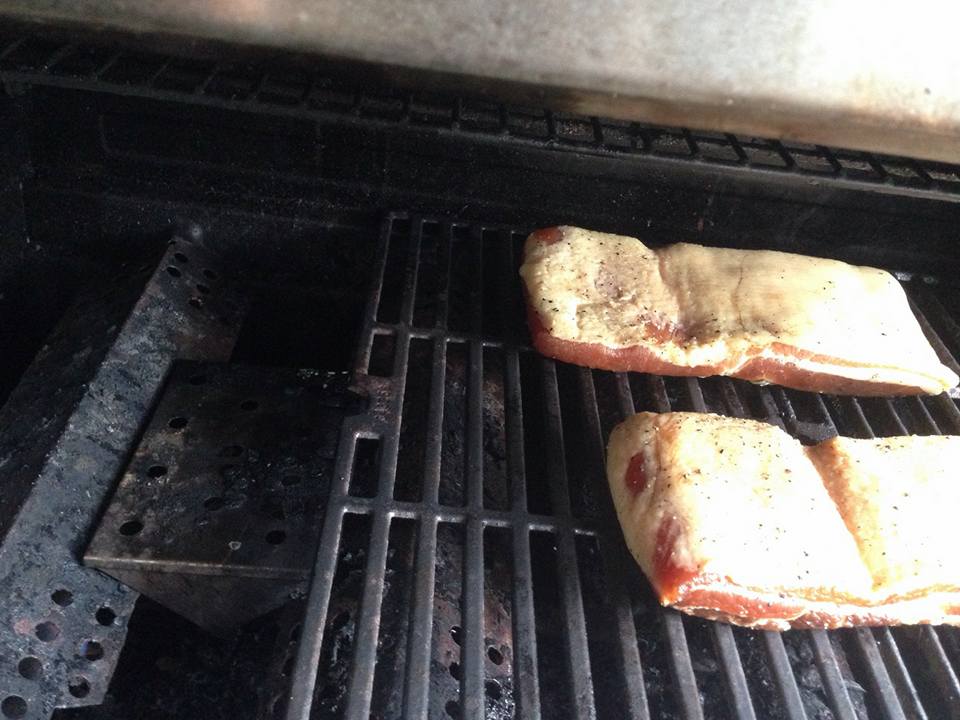
Maintain the smoke and control the heat for at least 5 hours turning the bacon every hour.

Remove from the smoker and allow to cool for an hour

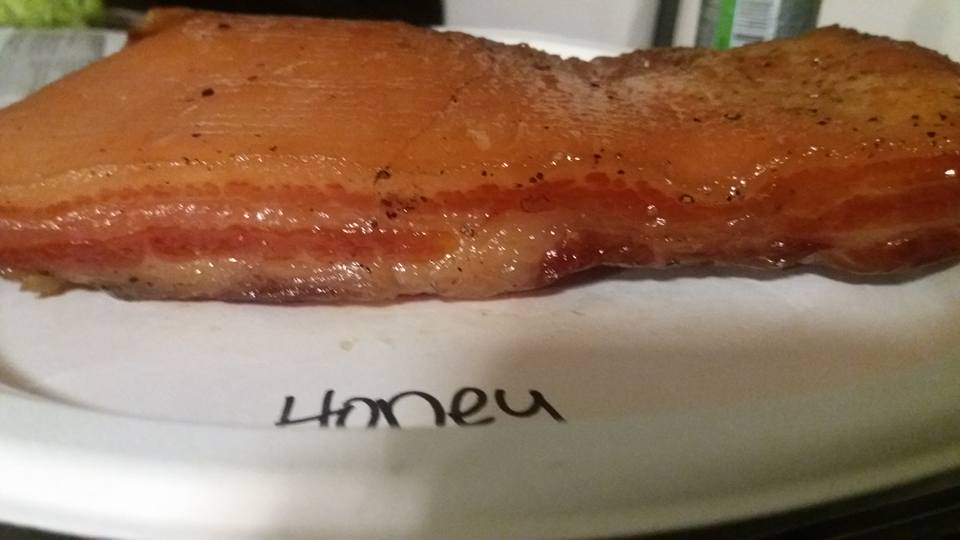

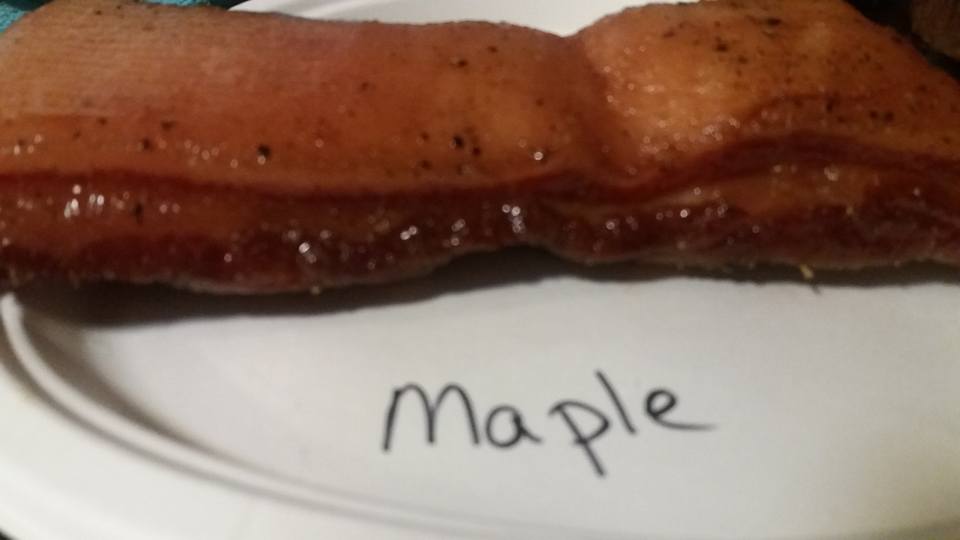
Wrap the smoked bacon in plastic wrap and place in the refrigerator overnight.

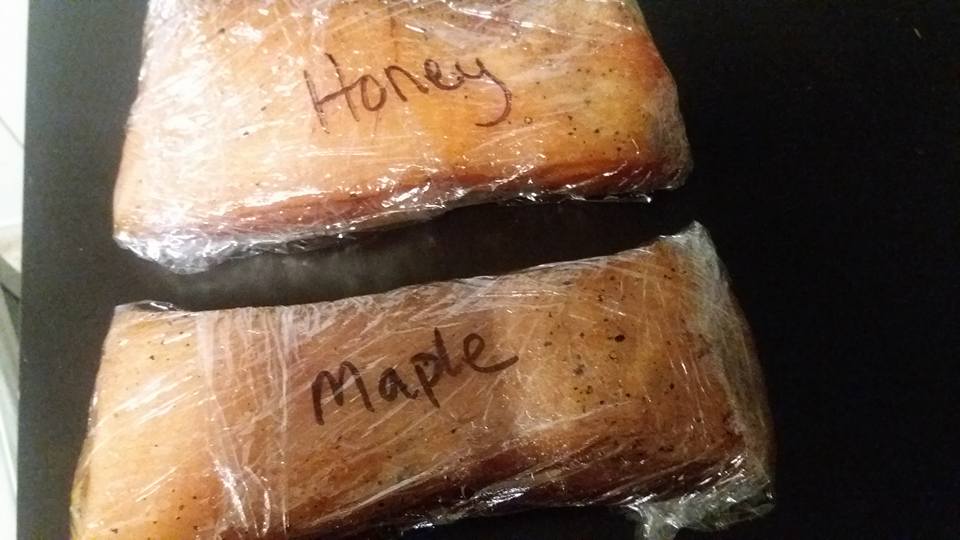
DAY 9:
Time to slice!!! If you don’t have a deli slicer, using a nice sharp knife will do the trick:
Slicing the Bacon: AKA Bacon Porn…

Of course, you will need to taste test your hard work! Keep in mind this bacon is much different than your typical store bought bacon. Cook at a much lower temperature and it will be done faster than you are used to.

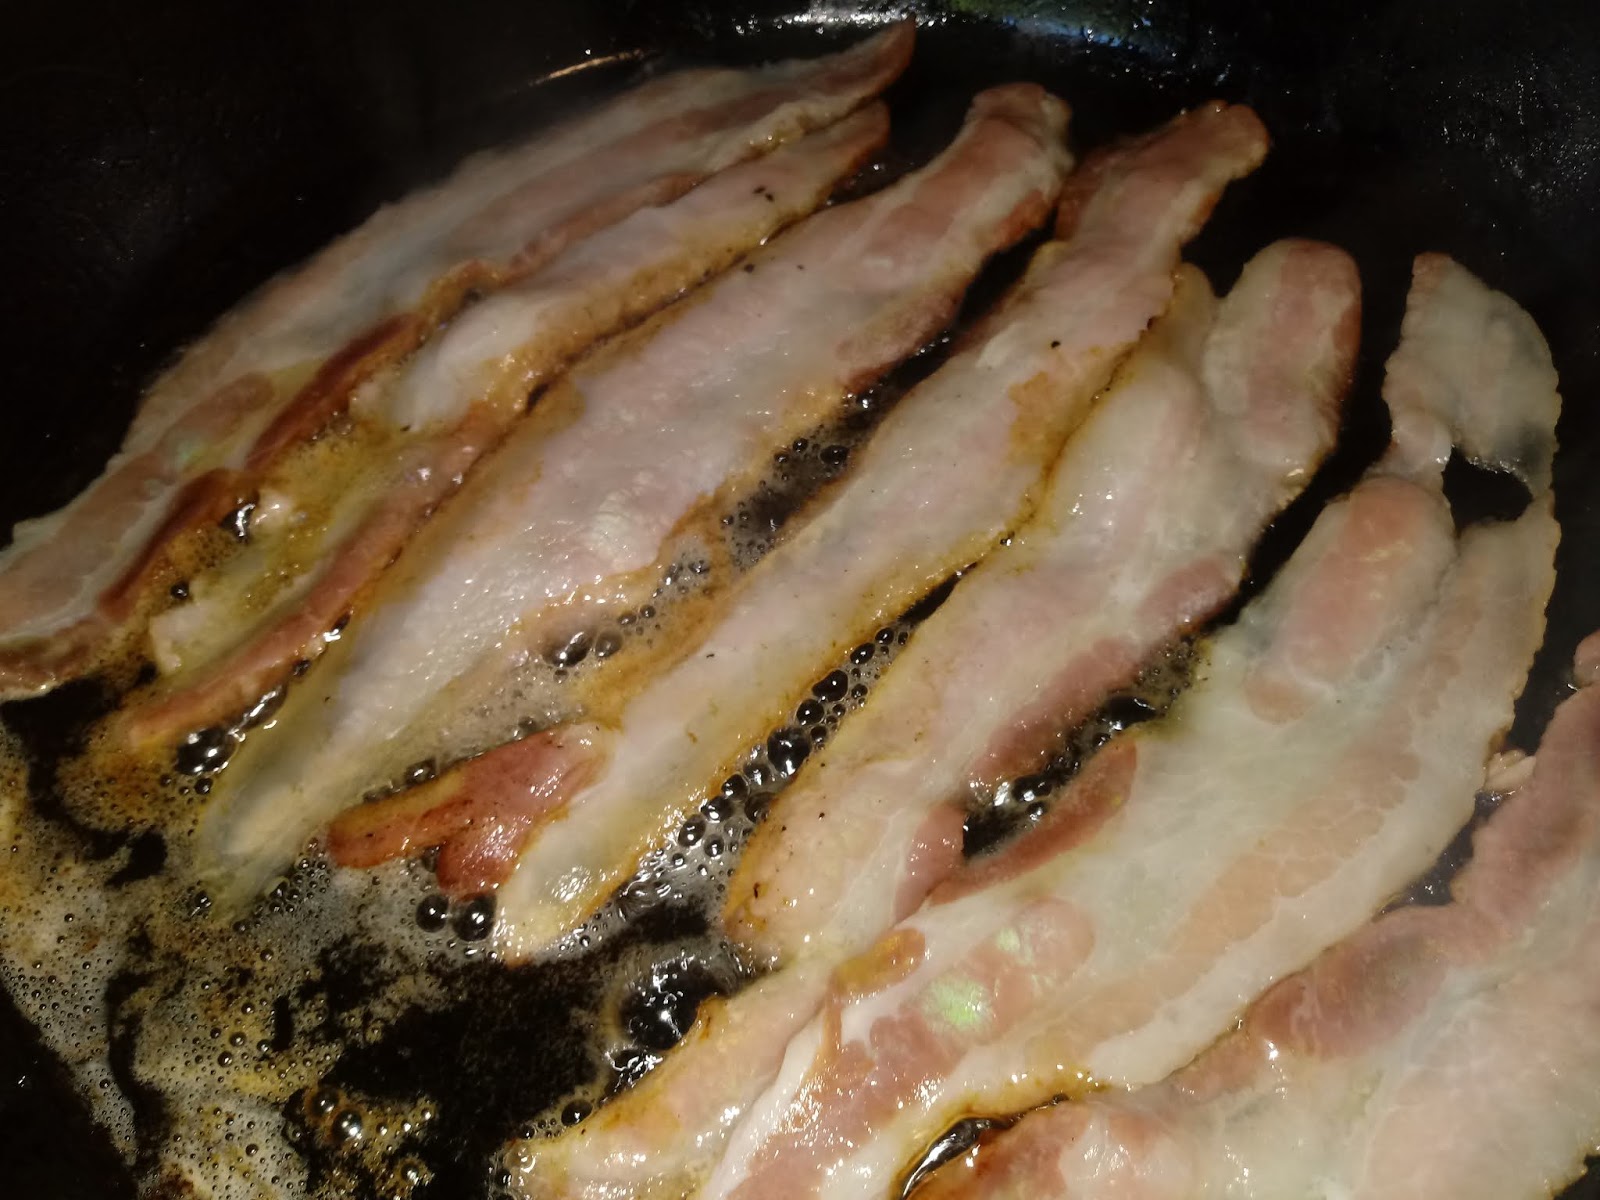
Why not bake some bread and make the best BLT you will ever have?!?!

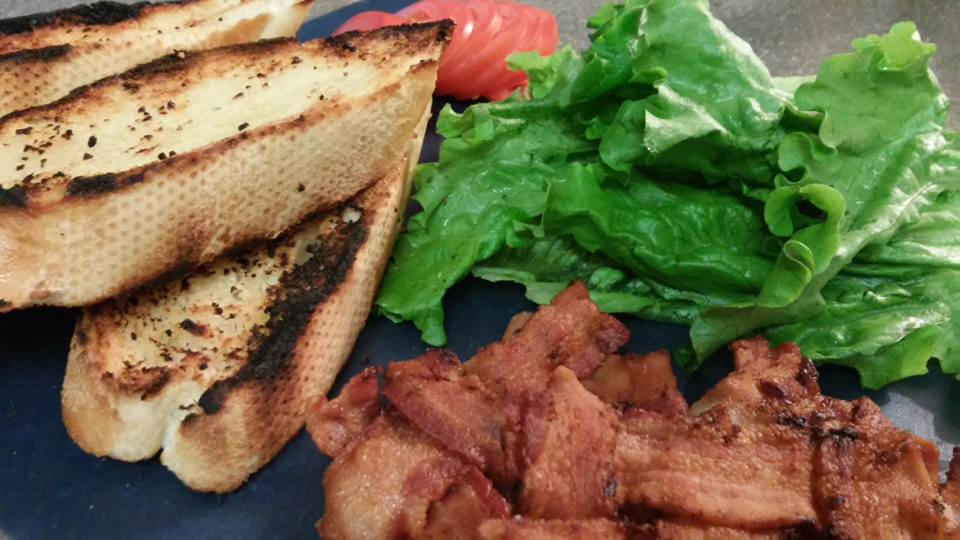
ENJOY!
Like what you see?
Use the Pintrist button to save this page for later.
Join the discussion on Facebook: Billfree Farms Presents: In my Kitchen