

How to make and can Salsa Verde- Step by Step

You will need
- 6 lbs tomatillos
- 1/2 lb jalapenos (omit the seeds for a milder salsa)
- 2 yellow onions
- 1 head garlic peeled
- 1 bunch cilantro
- 1 lime
**I may earn from qualifying purchases when you use the links on this page at no additional cost to you. Thank you for your support. **
* This recipe assumes you know the basic steps and safety measures for safe home canning. Please do your research and understand the potential consequences of improper canning methods.
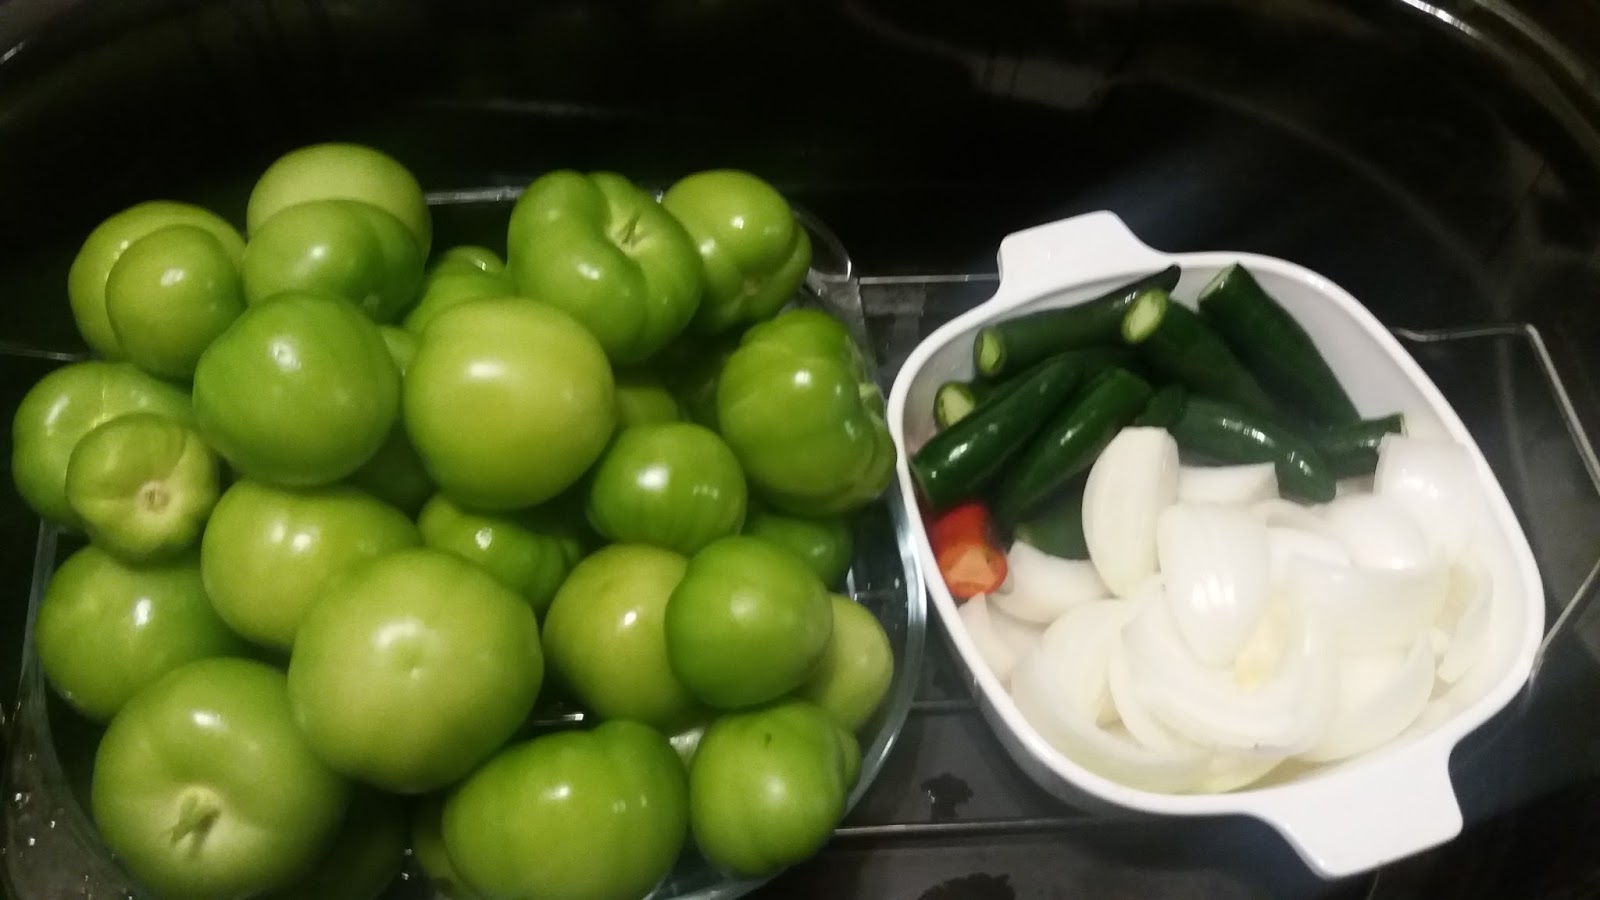
Peel and scrub the tomatillos. Peel and quarter onion. Remove the stems from the jalapenos. Add peeled cloves of garlic.
Roast at 350 degrees F until soft (about an hour). I use my turkey roaster.

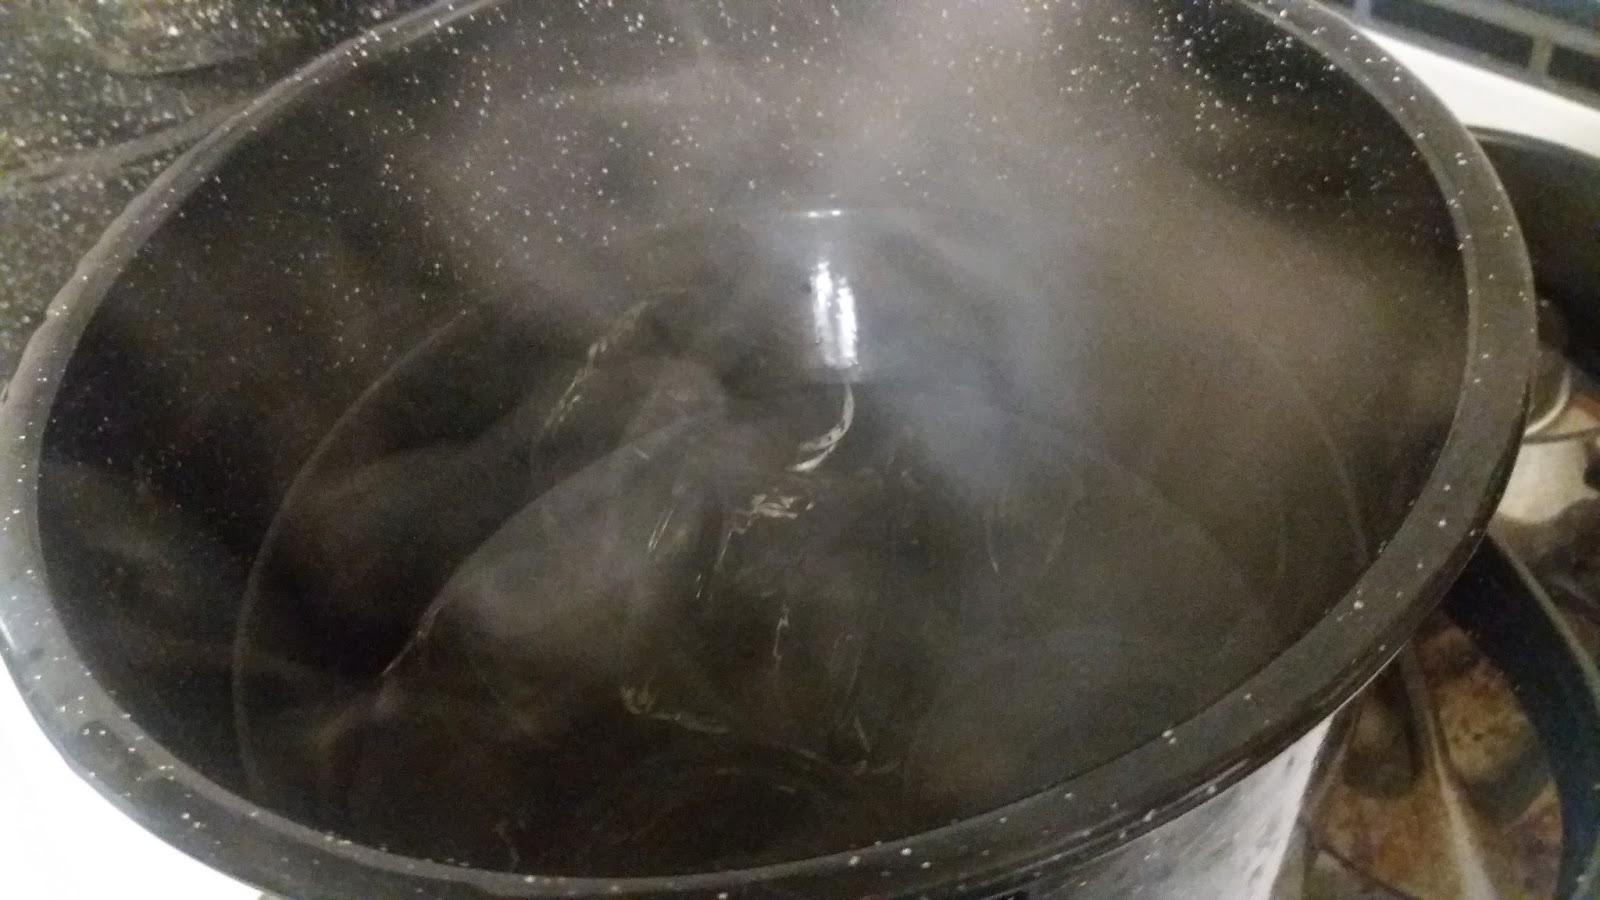
Meanwhile, gently boil canning jars for 10 minutes to sterilize.

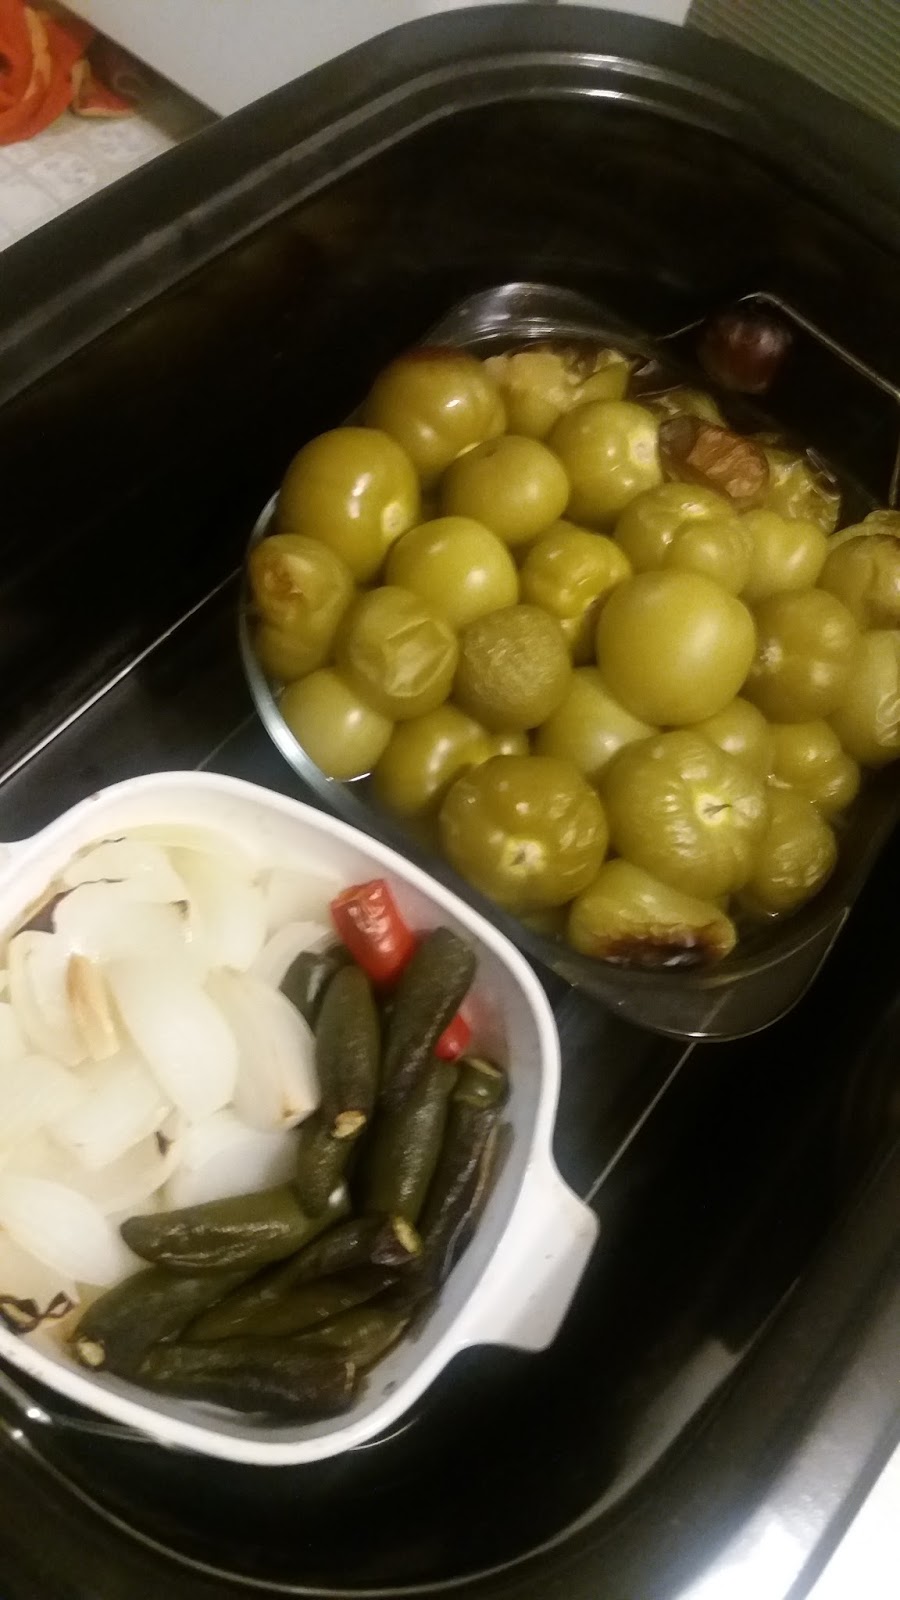
Ingredients roasted and soft.

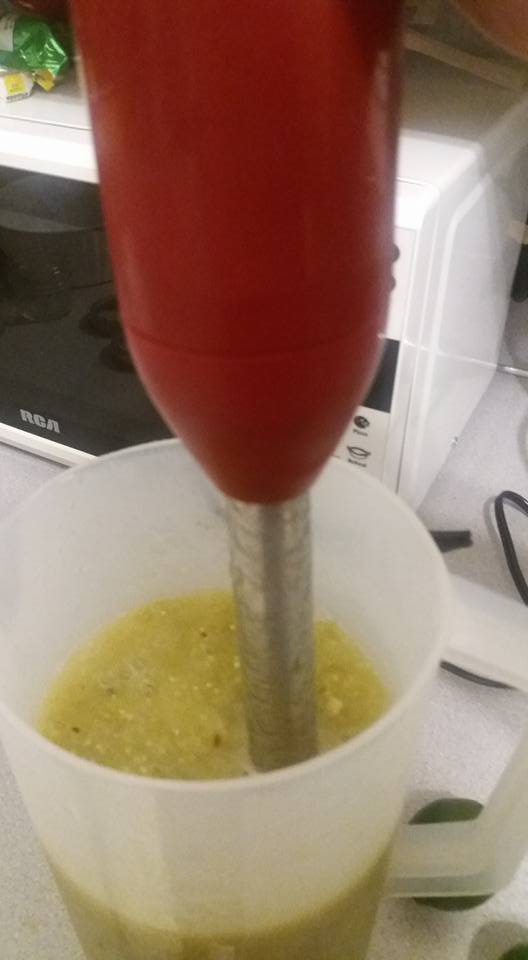
Blend all ingredients to make smooth. I am using a container normally used for juice. The tall, narrow shape makes blending with an immersion blender easy. Plus it has a pour spout that makes transferring into jars that much easier. A regular blender will work also.

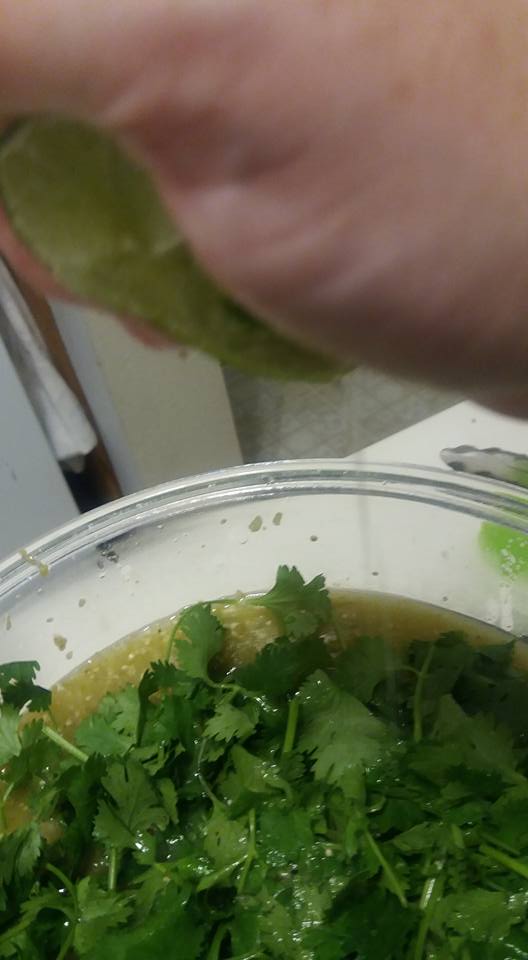
Next add cilantro and squeeze the lime of all it’s juice. A Citrus Press will give you even more juice! Pulse with the blender to blend everything together evenly. Placing the lime in the microwave for 20 seconds and rolling under pressure on the counter before cutting will yield the most juice.
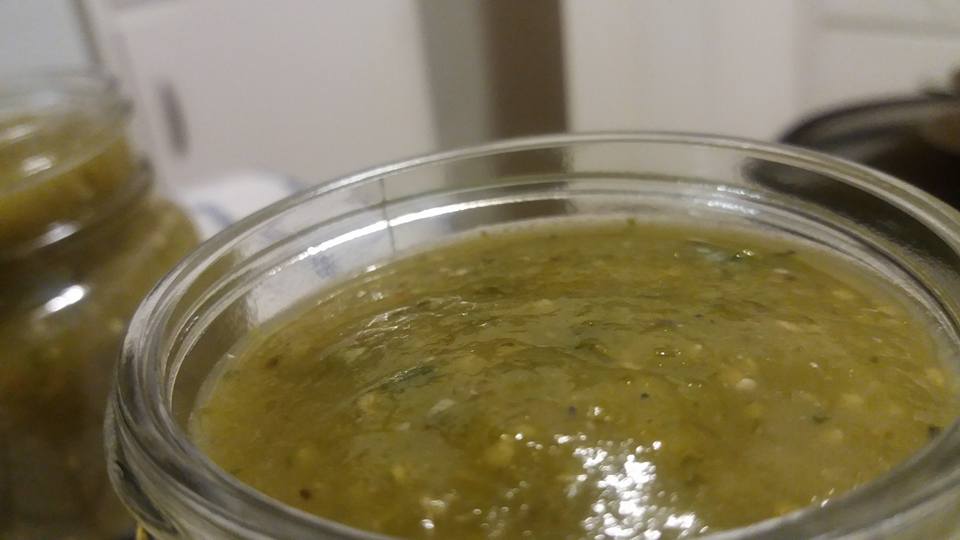
Important step: TASTE TEST… yum

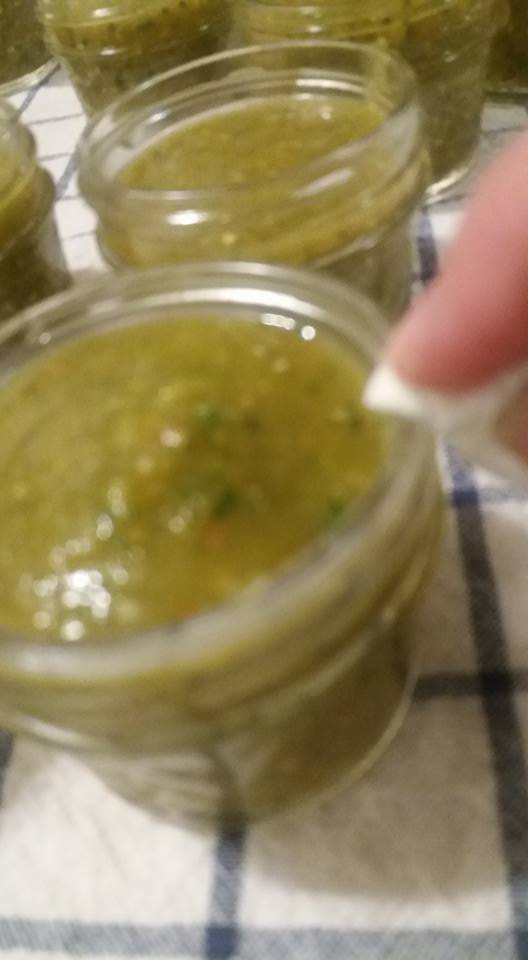
Pour the salsa into sterilized jars. I am using the 4 oz jelly jars as well as some 8oz half-pint jars, but you can use whatever size jar best suits your intended use.

Make sure to leave 1/4 inch head space. This allows enough room to create a vacuum and allow for expansion in the processing.

Wipe rims clean using a paper towel dipped in vinegar. This step helps to ensure the seal is perfectly clean and will completely seal properly.

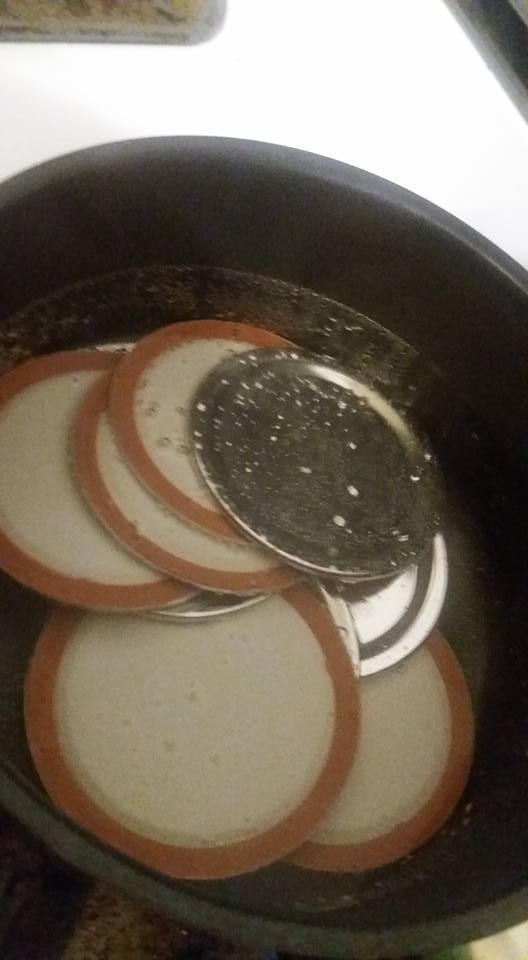
Have lids waiting in simmering water- NEVER BOIL!

Use caution and place the hot lids onto the clean rimmed jars. Work quickly in this step. A magnetic lid lifter is handy here 🙂

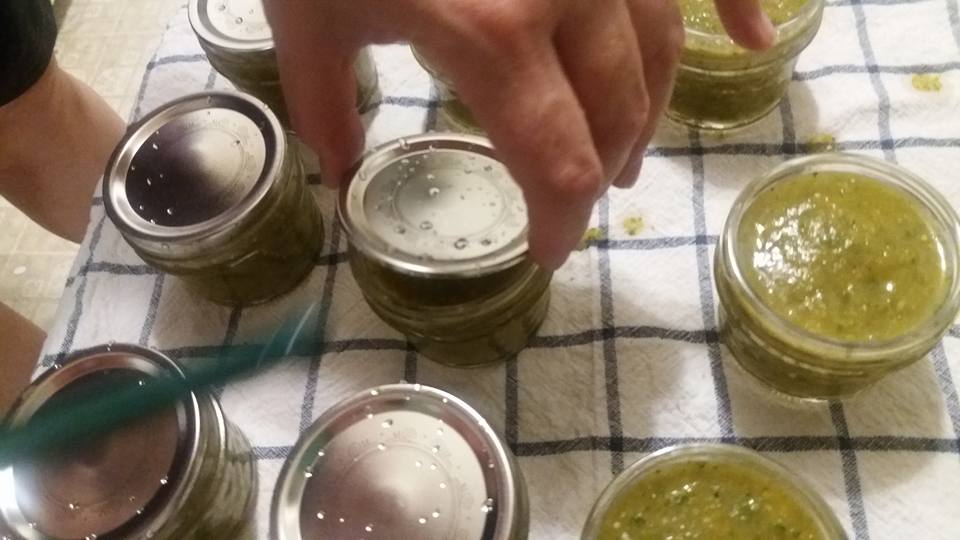
Place rings onto jars and tighten to finger tight. Don’t go crazy! You want any air trapped in the jar to be able to escape during processing.

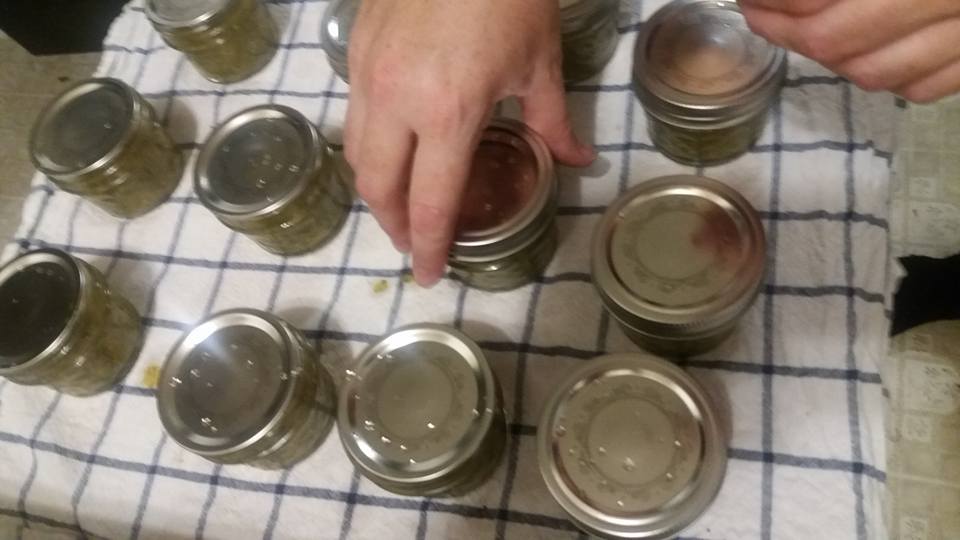
Use your jar lifter to gently place filled jars into the waterbath canner. The canner should have enough hot water ( don’t have the water boiling yet, but it can be on a low simmer) to cover the jars by at least 2 inches. Once all the jars are in your canner, put the lid on and bring water to a boil. After a full rolling boil is achieved, process jars for 15 minutes. Once the processing time is complete, turn off the burner and let the jars sit with the cover still on for an additional 5 minutes. Carefully take the lid off the canner. If the water is still at a boil, let the jars remain with the canner lid off until boiling subsides.

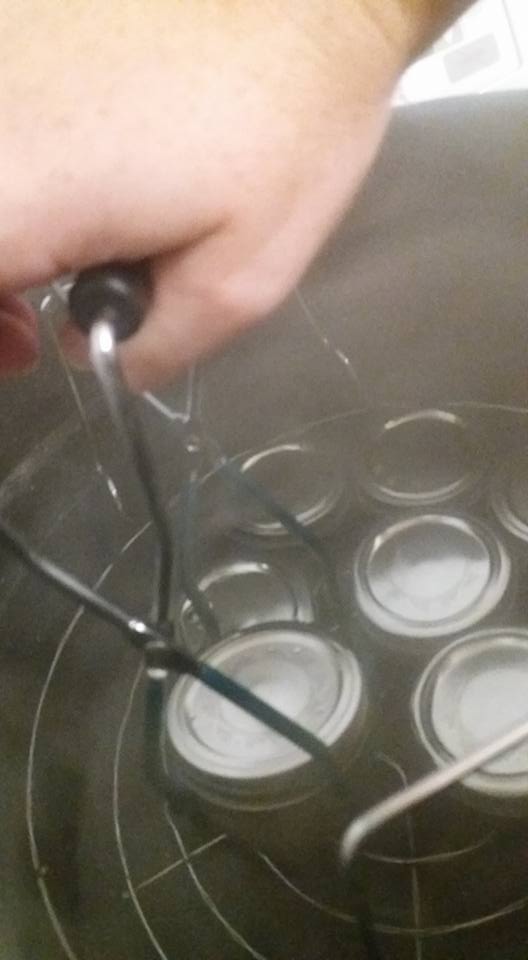
Use jar lifter and remove jars from canner onto a towel covered surface away from drafts. Never place hot jars directly on the counter or near a drafty window. You may break your jars from the temperature extremes!

Whew! Sit back and enjoy hearing the pings as your jars cool. That is the sound of success! Congratulations!

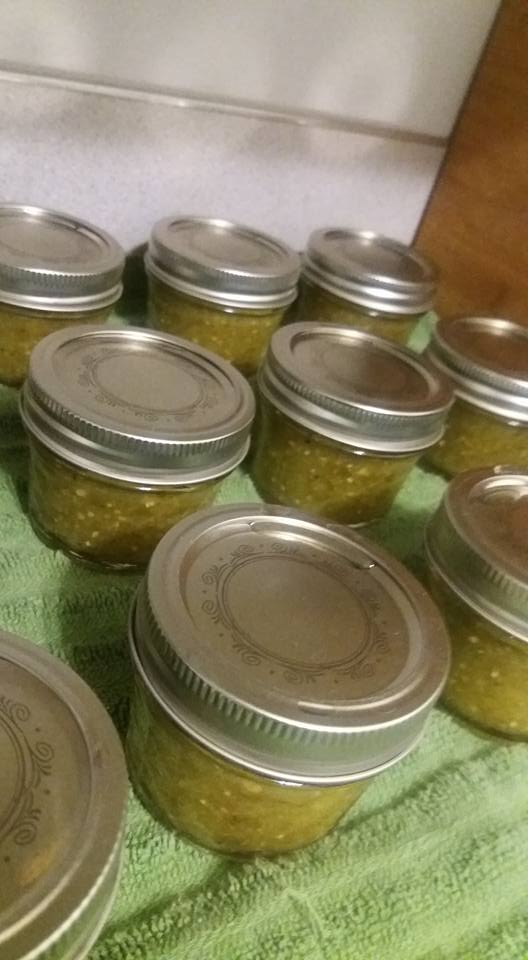
Leave your jars alone and resist the urge to touch them for a full 24 hours. Then gently remove the rings, test the seal by pushing on the top of the lid. If there is movement, the jar did not seal. The second test for a good seal is to lift the jar only holing onto the very edge of the lid. The jar should be able to be lifted without the lid coming off. You can just place any unsealed jar in the fridge and eat it within a couple weeks. Chips and salsa, enchiladas, pour over a pork roast, make tamales…
For all sealed jars you will need to gently wash with soap and water and rinse in lukewarm water. Then label and store in a cool dark place until ready to use.
I hope you try this recipe. Let me know if you do! I’d love to hear from you!
Like what you see?
Use the Pintrist button to save this post for later.
Join the discussion on Facebook: Billfree Farms Presents: In my Kitchen