

Canning Caramelized Onion

What a difference a good caramelized onion can make!
** I may earn from qualifying purchases when you use the links on this page at no additional cost to you. Thank you for your support. **
Having a jar of home canned delicious onion on hand is a game changer. Need a quick soup? Add a bit of beef stock and you have created French Onion Soup. Top burgers, brats, steak, roasts, chicken, pork. Be creative and you will find yourself making this recipe again and again!
*This recipe assumes you know the basic steps and safety measures needed for safe home canning. If you do not, please do your research and fully understand the potential consequences.
You will need:
- Onion
- Butter
- Basic canning equipment for pressure canning
First: remove the ends and the skins from the onions (save these in your freezer to make homemade stock later). Cut onion in half and slice thinly. If you are making a large quantity this Food Slicer is fast and easy to clean! Add onion to crock pot separating the pieces as you go.

Once your crock pot is full (the volume will reduce significantly as the onion cooks), add 1/2 stick of butter cut into cubes. If you want to make a very large batch, use a turkey roaster on a low setting and add a full stick of butter.

Cook on low for up to 10 hours or on high for 5 hours, stirring occasionally.

When the onions have reached a light caramel color, they are ready to be canned.

Ladle hot onions into prepared hot jars with the juice that has formed. I am using 1/2 pint jars. You could use pint jars if you wish.

Leave 1 inch of head space. Clean rims with paper towel dipped in vinegar to ensure jars are free of butter and the lids can form a proper seal.

Try not to eat them all as you are filling jars… It smells SO GOOD!

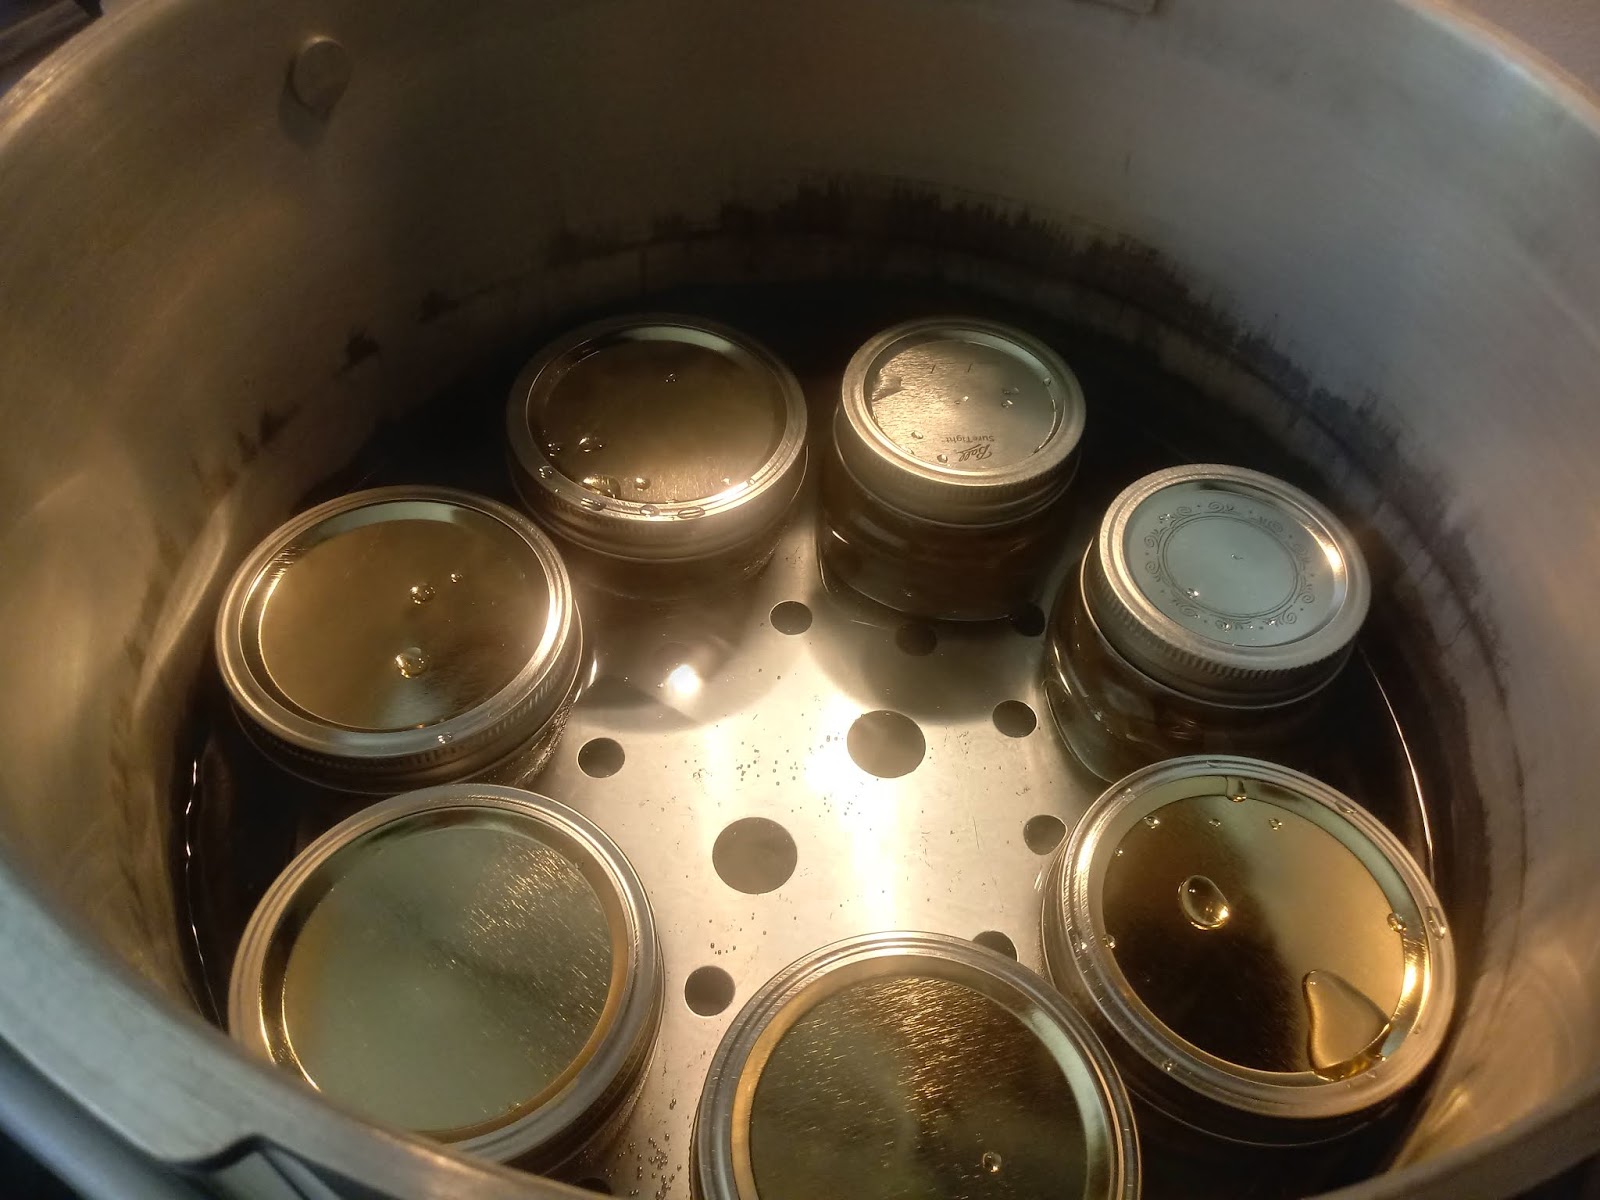
Center lids onto jars, adjust rings to finger tight and load jars into your pressure canner. Follow your manufacturers directions to process your onions for 70 minutes for 1/2 pints, 75 minutes for pints, or 90 minutes for quarts.

When processing is complete, carefully remove canner from the heat and allow to cool gradually. Once pressure has dissipated, use your jar lifter to remove jars from the canner and place onto a towle lined counter. Allow jars to remain undisturbed for a full 24 hours. Remove rings, test seals, gently wash jars, label and store in a cool dark place until ready to use.

Enjoy!
Like what you see?
Use the Pintrist button to save this post for later.
Join the discussion on Facebook: Billfree Farms Presents: In my Kitchen